How to Give Picture Blue Hologram Look Photoshop
Introduction to Photoshop Hologram Effect
We can understand Hologram as a three-dimensional virtual image which is produced by the light beams of laser or focused light sources. In Photoshop we use this effect for creating a virtual representation of any image with light sources. For creating the Hologram effect we should follow two or three main steps such as we must have a light source image with our main character of the hologram effect. We will also set some important parameters for getting this effect some of them are changing the blending mode of a layer, using a layer mask as well as a brush tool. So let us get introduced to all this stuff of this software for creating a good hologram effect. In this topic, we are going to learn about the Photoshop hologram effect.
How to create a Hologram effect in Photoshop?
You we have great fun during learning about this topic from this article because we will play with some important tools and features of this software for getting this type of effect. So what will you say, readers? Do you want to play this game? If yes then let's get started.
I think we first go through the introduction of the main sections of the user screen so that during this topic you can very easily capture different terms of this software. At the top, you will find the Menu bar which helps in much different work of this software. Moving to next we have the property bar below the Menu bar which has the properties of an active tool or image. Below the second bar on the left side, you will find the Toolbar, at the center Display window, at right some tabs such as Layer, channel, and some others. If you don't like this user interface then you are free to adjust all sections as per your choice.
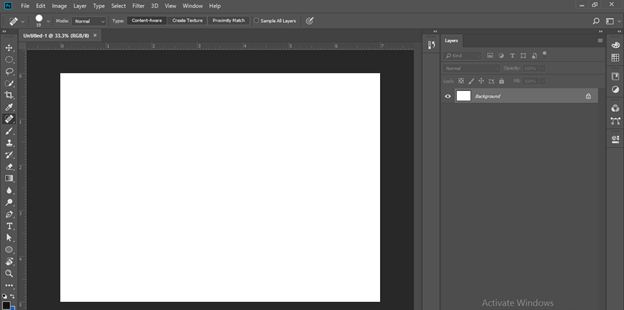
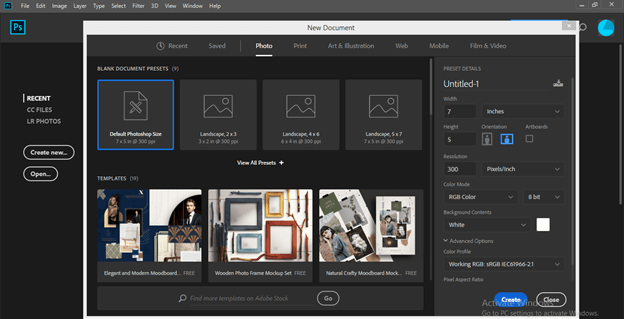
This is the welcome screen of this software. Now click on the Create New button for creating a document. Select the size of your document then clicks on the Create button of this box.
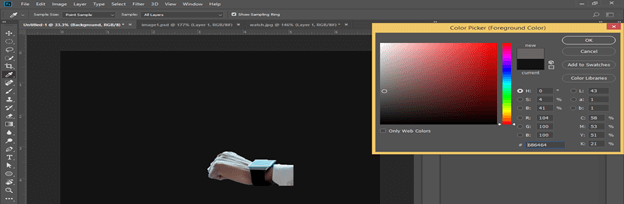
Now select the black color as the foreground color.
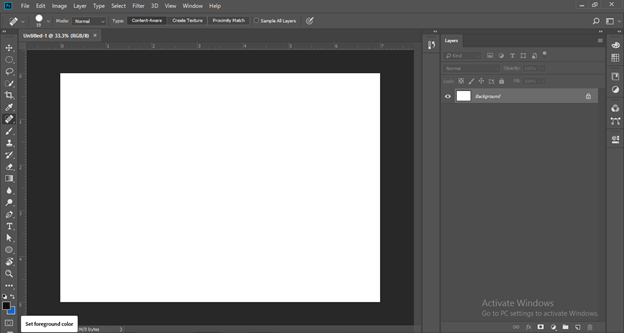
And press the Alt + backspace button of the keyboard for filing black color.

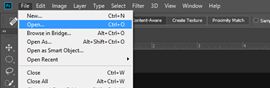
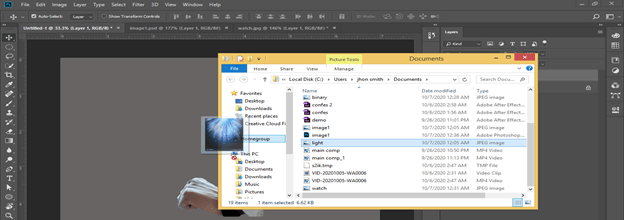
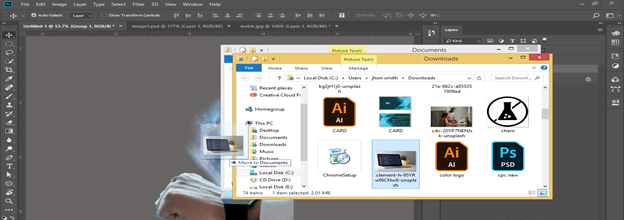
To make the Hologram effect we need some images. I have downloaded them from the internet. You can also have them on the internet. Go to the File menu of the menu bar and click on the Open button of the list.
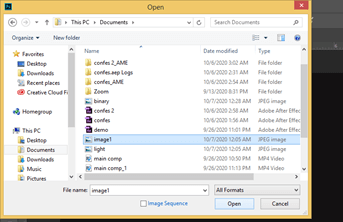
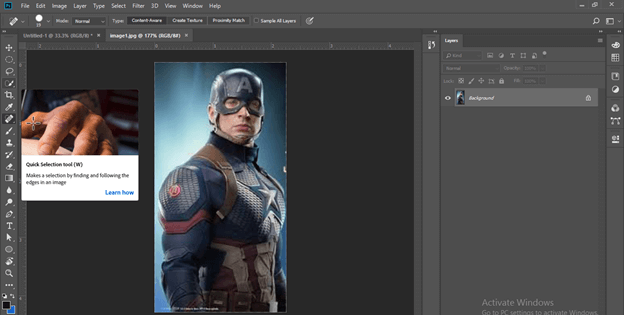
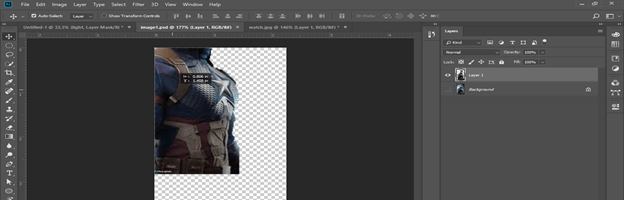
Choose your desired image from the opened dialog box. I will open an image of the character. You can have your own image.
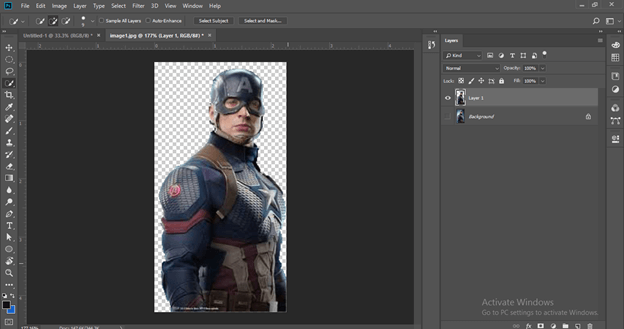
Now separate this character from the background by using any method of removing the background.
Like this.
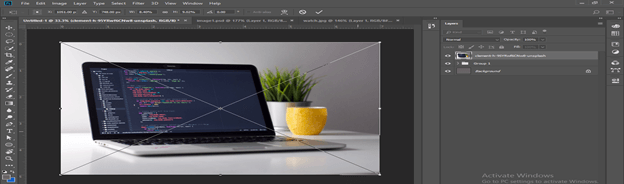
Do the same with the digital image object in which you want to make a source of light. I have an image of a digital watch.
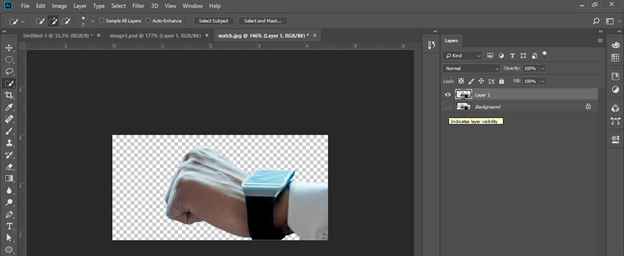
Now drag the image of the digital watch into our main document tab and adjust the size of the image as per your choice by using a transform bonding box. For the transform box press the Ctrl + T button on the keyboard.
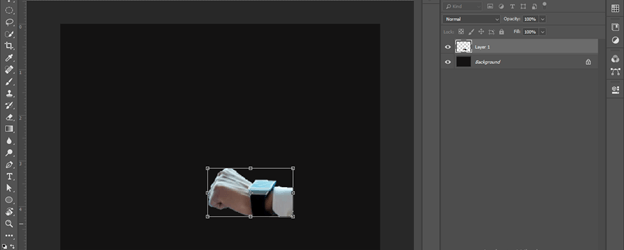
Let us change the color of the background a little bit to grey color so that we can manage our work easily.
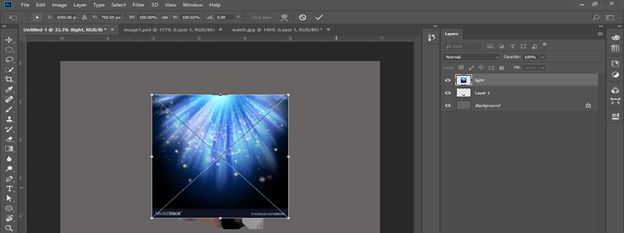
Now place the Light beam image into this document window. I have downloaded this light beam image from the internet.
It will place like this.
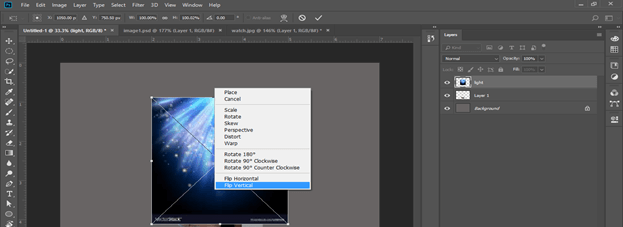
Make a right click on this image and choose the Flip vertical option from the scroll-down list.
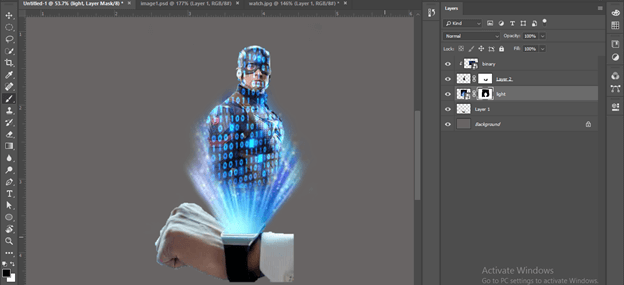
Now add a layer mask in this image layer from the Adjustment layer buttons.
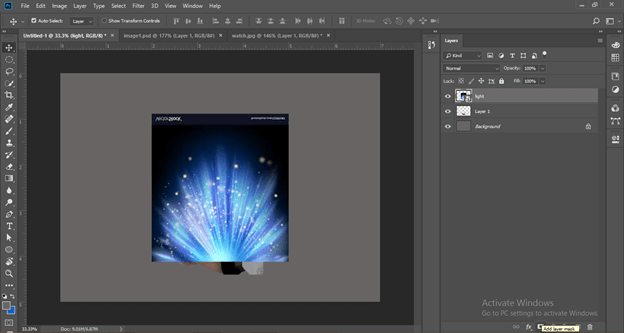
After adding the layer mask set this image just above the screen of the watch then select the thumb nail of the mask of this layer and take the brush tool from the tool panel.
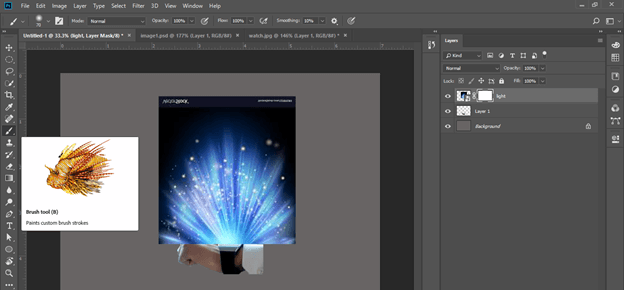
Down the opacity of this layer up to 50% so that you can properly edit it and select the black color as the foreground color in the color panel box.
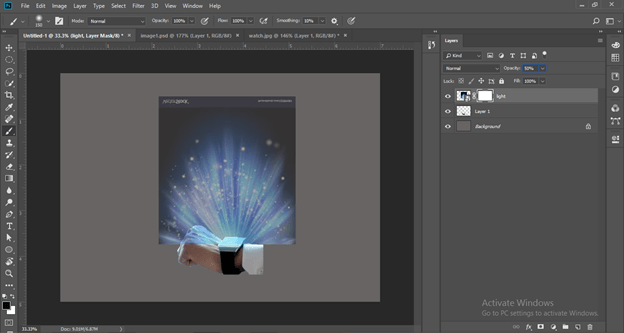
Now remove the sharp edge and the extra portion of the light beam from the light image with the brush tool.
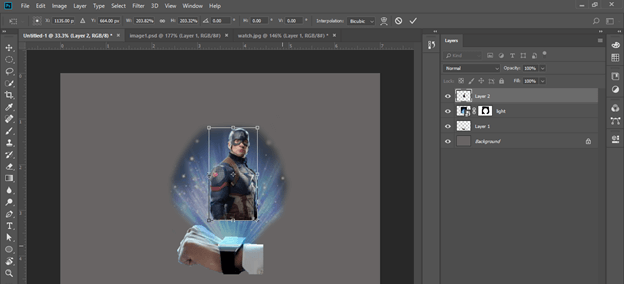
Now drag this character image into the main document tab.
Adjust the size of this image according to the beam spread.
Add a layer mask to this layer also from Adjustment layer buttons.

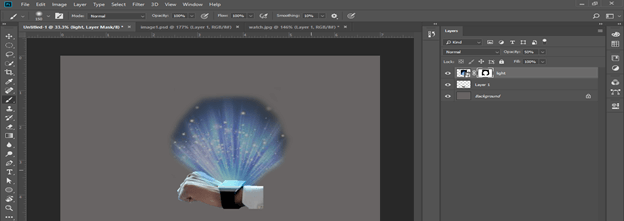
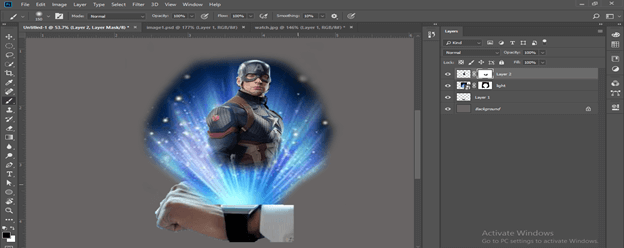
Restore the opacity of the light beam layer to 100%. Then go to a layer of character and select the thumbnail of the mask. Take a brush tool and remove the sharp edge of the bottom of this character so that it creates the illusion that the character comes from a light beam.
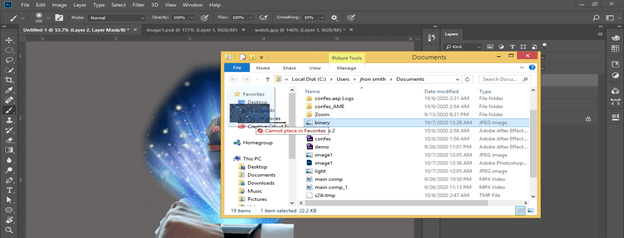
Now again place one more image in your work which is a virtual image of binary codes.
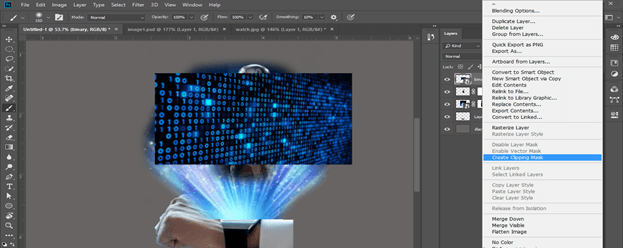
Adjust the size of this image and make right click on the layer of this image. Choose the 'Create Clipping Mask' option from the scroll-down list.
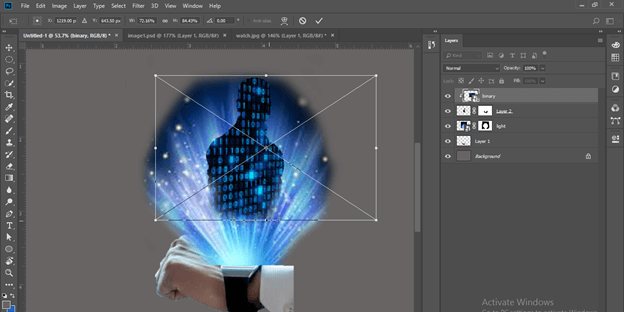
Now press the Ctrl + T button from the keyboard and reduce the size of the binary code image for a more refined look.
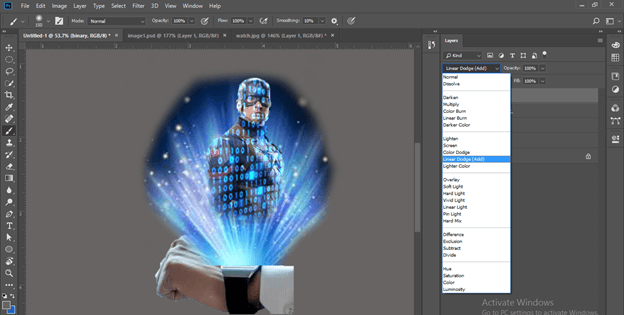
Go to the blending mode option of this layer and choose the 'Leaner Dodge' option from the list.
Again go to layer mask of light layer and set the beam of light according to character size with the help of brush tool.
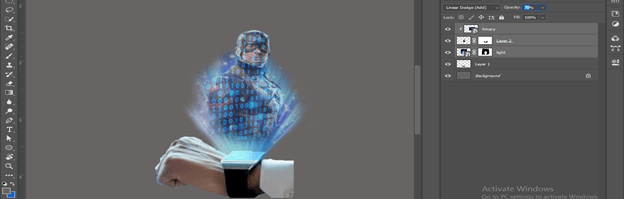
Select these three layers and decrease their opacity to 70% so that you can get a real hologram effect.
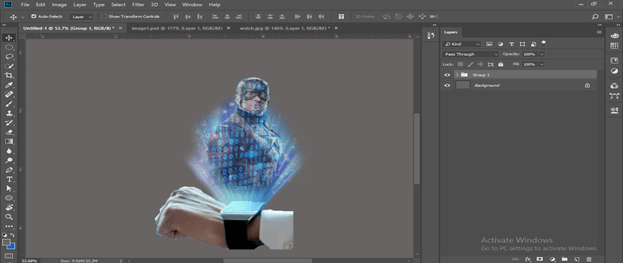
Now group layers of the Hologram effect by using the Ctrl + G shortcut button.
Now let us have a background image in our document for testing the efficiency of our hologram on a real-life background.
Adjust its size.
Place it below to Group 1 layer.

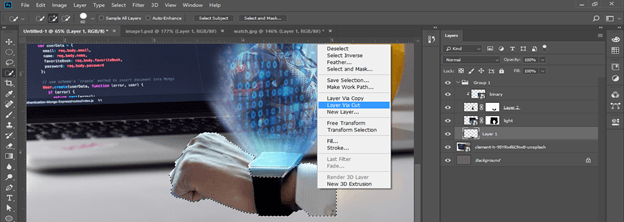
Now select the hand area of the watch image leaving the main screen of the watch and make the right click after selection. Choose Layer via a Cut option from the list then delete the extracted layer.
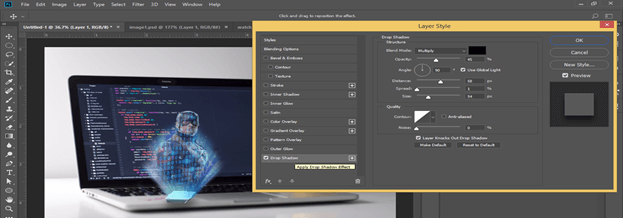
Add drop shadow into the main screen layer of the watch by blending mode option. Before adding drop shadow choose the Blue color option in the blending mode option.
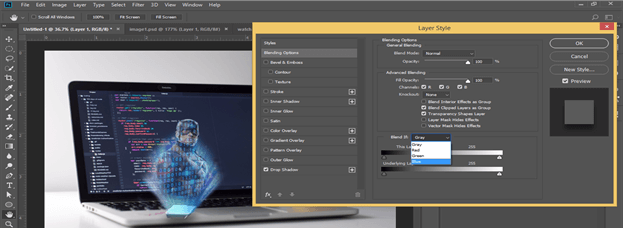
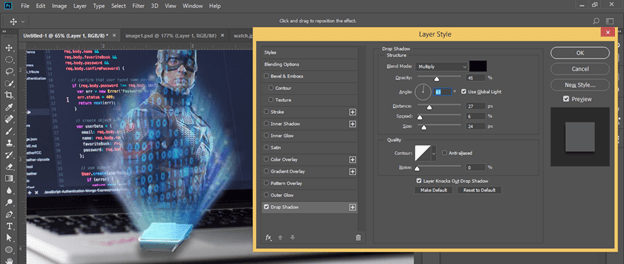
Adjust distance, spread, and size of drop shadow for this layer as per your choice for giving a more realistic look to the watch screen as a stand of the light source.
I will give distance value as 26, spread value as 6, size value as 24, and angle value as 83 degrees.
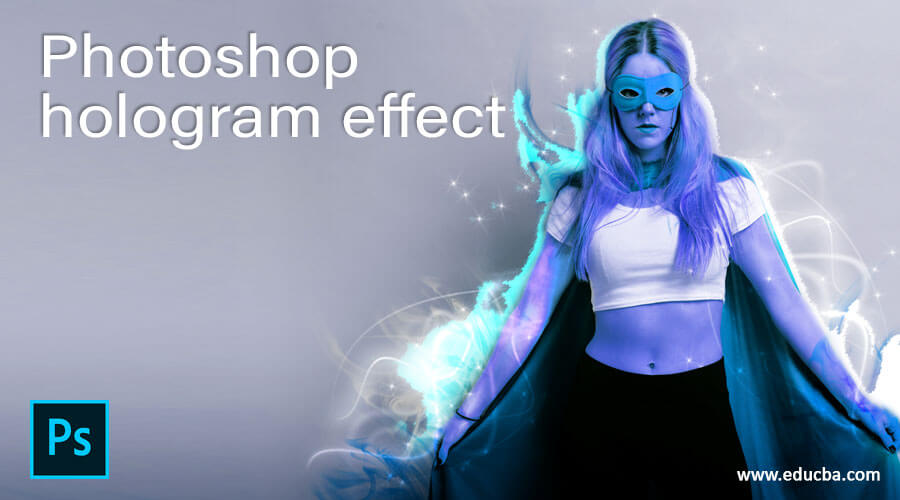
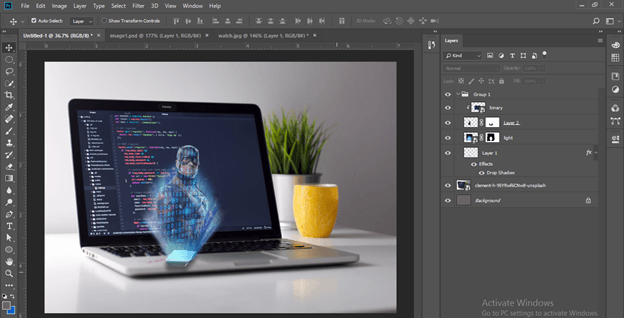
This is a final output of your create Hologram effect.
Conclusion
Now I think you get good knowledge about the Hologram effect and had great interest and fun during learning this topic through this article. Now you should make a variation in the parameter features which we had included for getting hologram effect for getting different types or unique results.
Recommended Articles
This is a guide to Photoshop hologram effect. Here we discuss How to create a Hologram effect in Photoshop along with the parameter features. You may also have a look at the following articles to learn more –
- Photoshop Sun Effect
- Templates in Photoshop
- Photoshop Gold Gradient
- Warp Image Photoshop
Source: https://www.educba.com/photoshop-hologram-effect/
0 Response to "How to Give Picture Blue Hologram Look Photoshop"
Post a Comment